
Online academies and training schools can either engage learners or bore them. We would argue that it all comes down to the learner experience. Where learning is more engaging when people feel connected and seen.
There was a time in which delivering these types of experiences was reserved for learning designers. But with the help of tools like WeSchool, setting up online academies that meet the needs of users without compulsory being a learning expert is simpler (and faster) than ever before.
Keep reading to learn how to create a customized online learning academy that lands with your learners with these 5 simple steps.
The first step to creating your Online Academy is to set up a place where all of your courses and programs can live. You can do this by grouping all of your courses or Groups in one place. At WeSchool, we call these Spaces. Learners will recognize these spaces no matter which specific course or training they are taking. This creates a unified learning environment.
To create a unified Space for your online academy:
- Enter a name for your academy
- Customize the URL so learners can easily find it.
- Select how the environment will be used: cohort-based or self-paced
- Share what types of learners will be enrolling in your online academy (business-focused, bootcamps, training centers…)

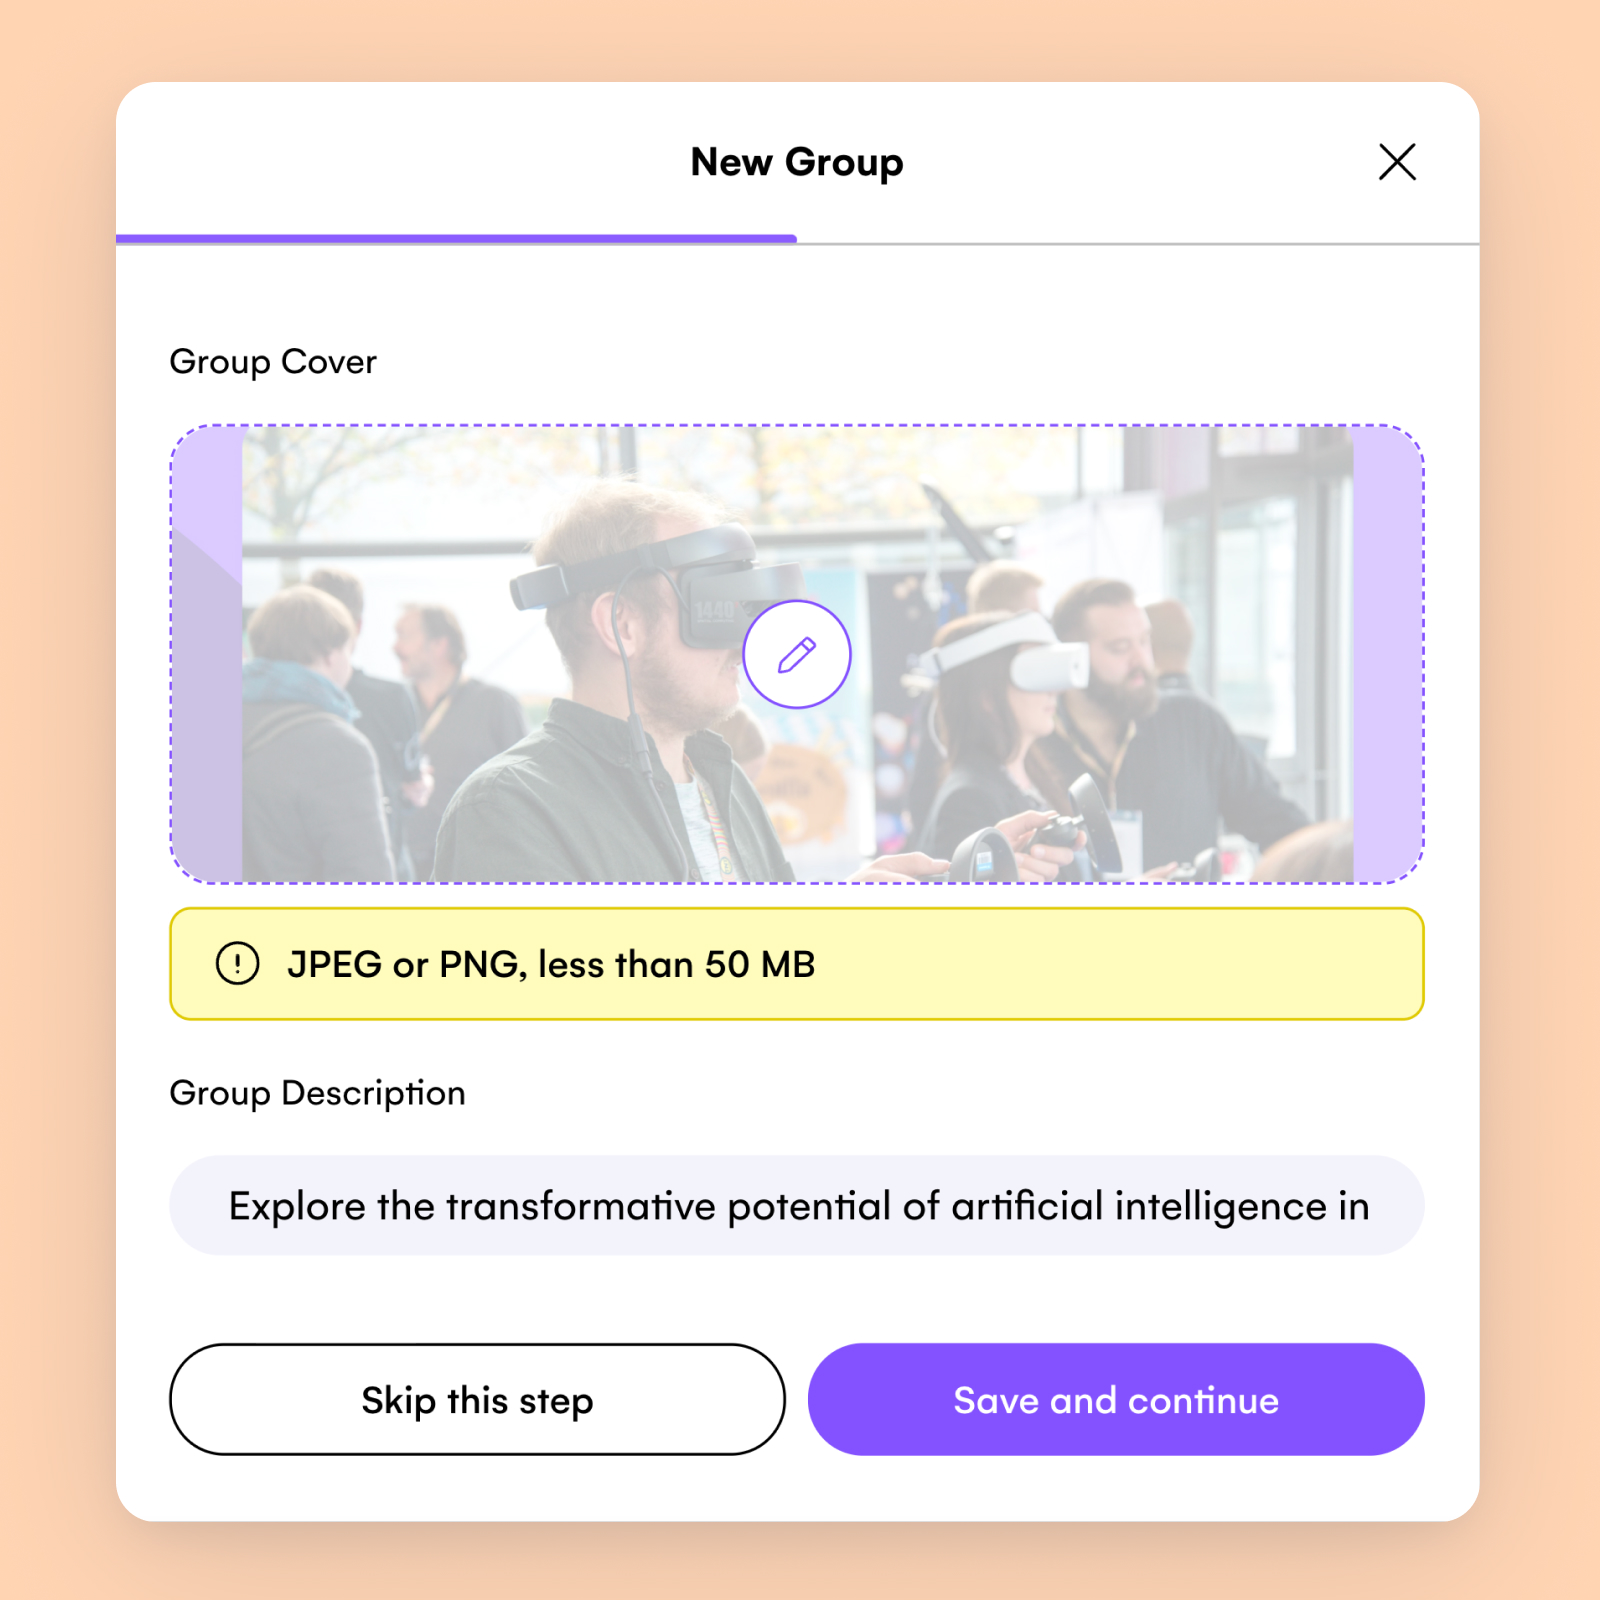
Once you have an easily recognizable and branded Space, it’s time to create the Groups users will access to do their learning. Community groups are the heart of online academies. It’s where instructors and learners can gather to enquire, be updated and collaborate with each other.
Each Group will be instantly recognizable with a branded cover and short description that can be added with a simple drag-and-drop functionality!
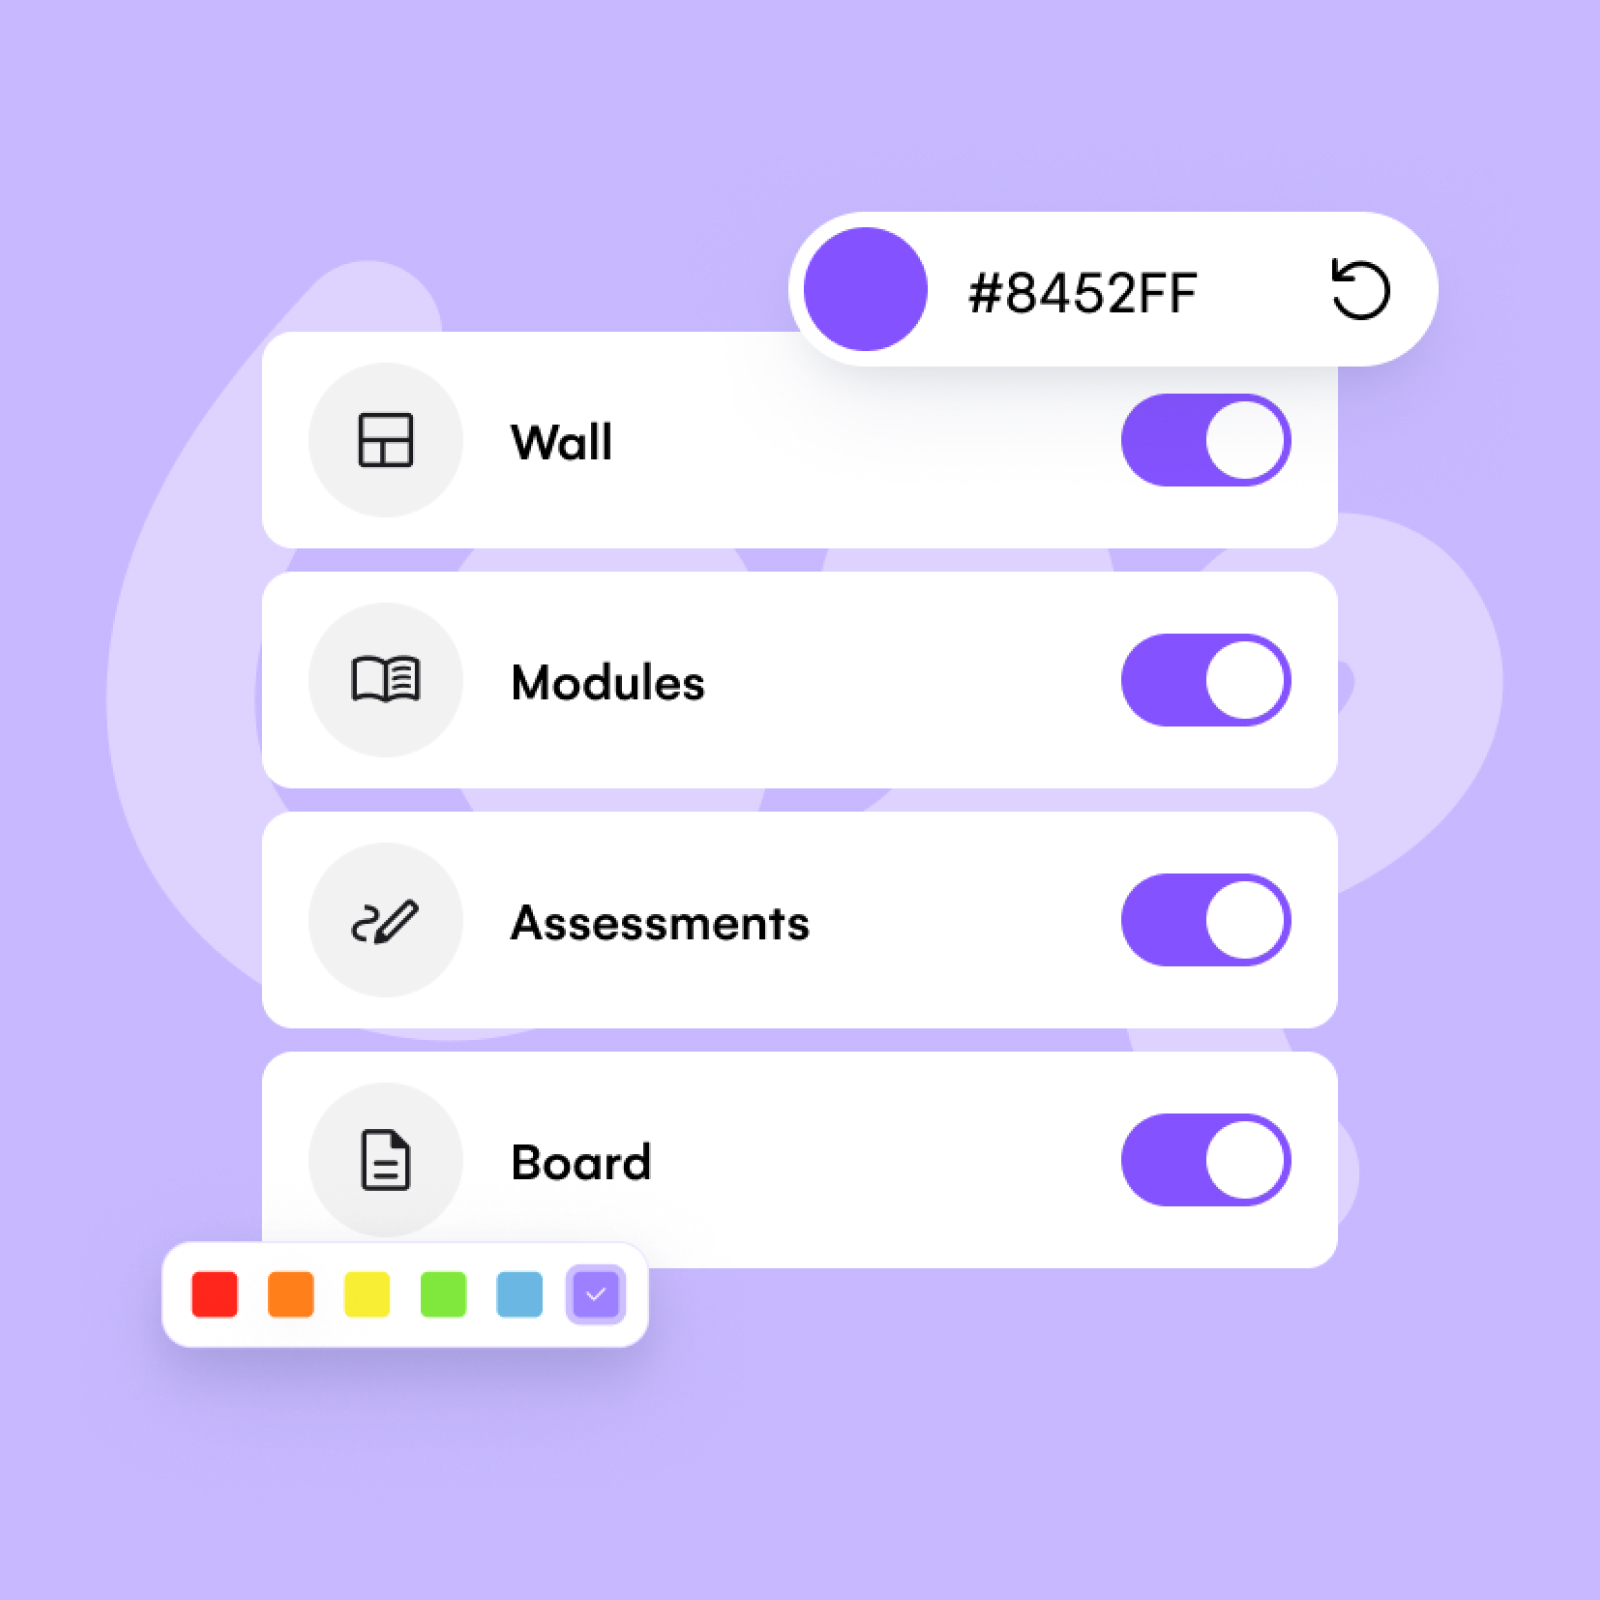
And while we love all of our social features, we know different learning requirements and learning styles call for different capabilities. Which is why when creating a Group, you can select the features you’d like your users in individual Groups to see, and which ones you’d like to hide. Talk about removing the noise and enhancing laser focus for your users!
As soon as courses are grouped and branded, it’s time to define the learning goals and create the learning materials. With WeSchool, this process can be enhanced with our AI Assistant to create entire learning paths or individual learning materials for our Draft with AI feature. All that’s needed is some step-by-step prompting and customized content will be created within 2 minutes.

There is also the option to do so from scratch, But whatever avenue you choose, you’ll be able to customize the materials produced at every stage of the journey with our AI Editor to customize even further while saving valuable time.
Once you’re happy with the course outline and content materials, it’s time to personalize the learning path by adding milestones and making certain modules mandatory or optional. Alongside this, you’ll be able to automate messages and deliver personalized Badges when users reach certain milestones!
This allows learners to feel a sense of progress and choice, keeping them motivated throughout the process. With these customizations, you can create a truly unique learning experience that sets your academy apart.
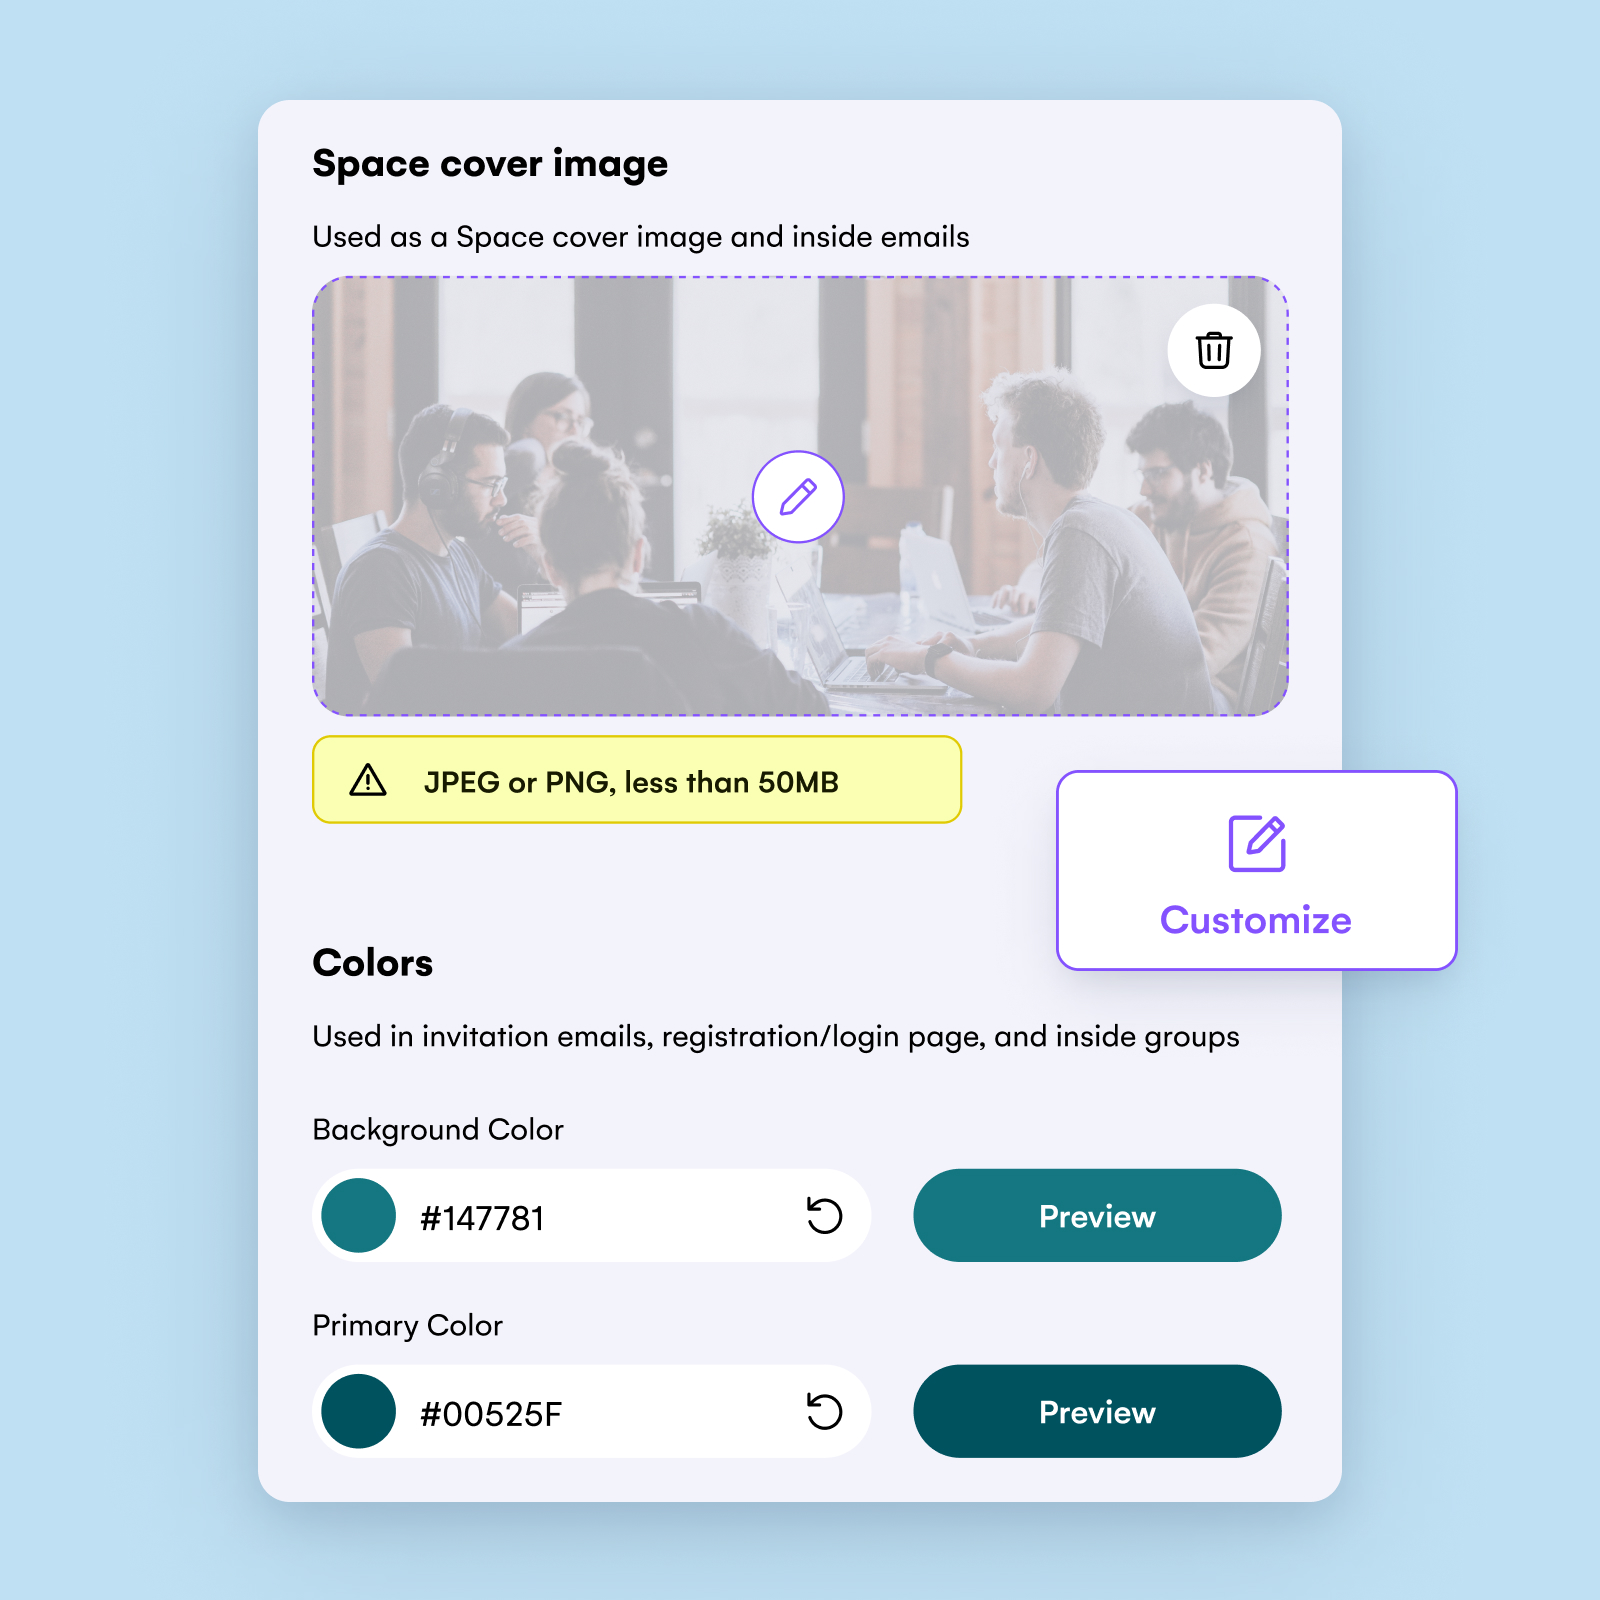
The last step to setting up a truly customizable Online Academy to deliver an onboarding experience that makes a difference. First impressions do matter. Which is why WeSchool’s customization goes beyond the platform’s appearance.
With all Groups and materials set up, it’s time to tweak colors, buttons, and the overall feel of the platform to match your brand. This way, all invite emails received by users will carry your brand colors and logo to add a personal touch.

All in all, the era where only learning designers could deliver such experiences is behind us. With WeSchool’s user-friendly tools, anyone can now create tailored online academies that truly resonate with learners. To sum up:
- Build an experience that goes beyond content delivery to foster human connection;
- Shape personalized learning paths that motivate and engage;
- Craft a one-of-a-kind onboarding experience to wow from day one.
Other resources you might be interested in
-

Make your content feel right at home with WeSchool’s latest product updates
From SCORM integration to customisable assessments and our upcoming sleek and stylish templates, these product boosts will empower you to craft engaging learning experiences with ease and flexibility.
-

AI training pro shares secret recipe for creating realistic AI L&D videos
Discover the proven FOCA framework for creating AI training videos that captivate & educate, directly from AI pro, Kevin Alster
-

How to measure the impact of your L&D strategy with the New WeSchool Dashboard
Enhanced L&D analytics dashboard for data-driven decisions, learning optimization, and impact quantification.


Reviews